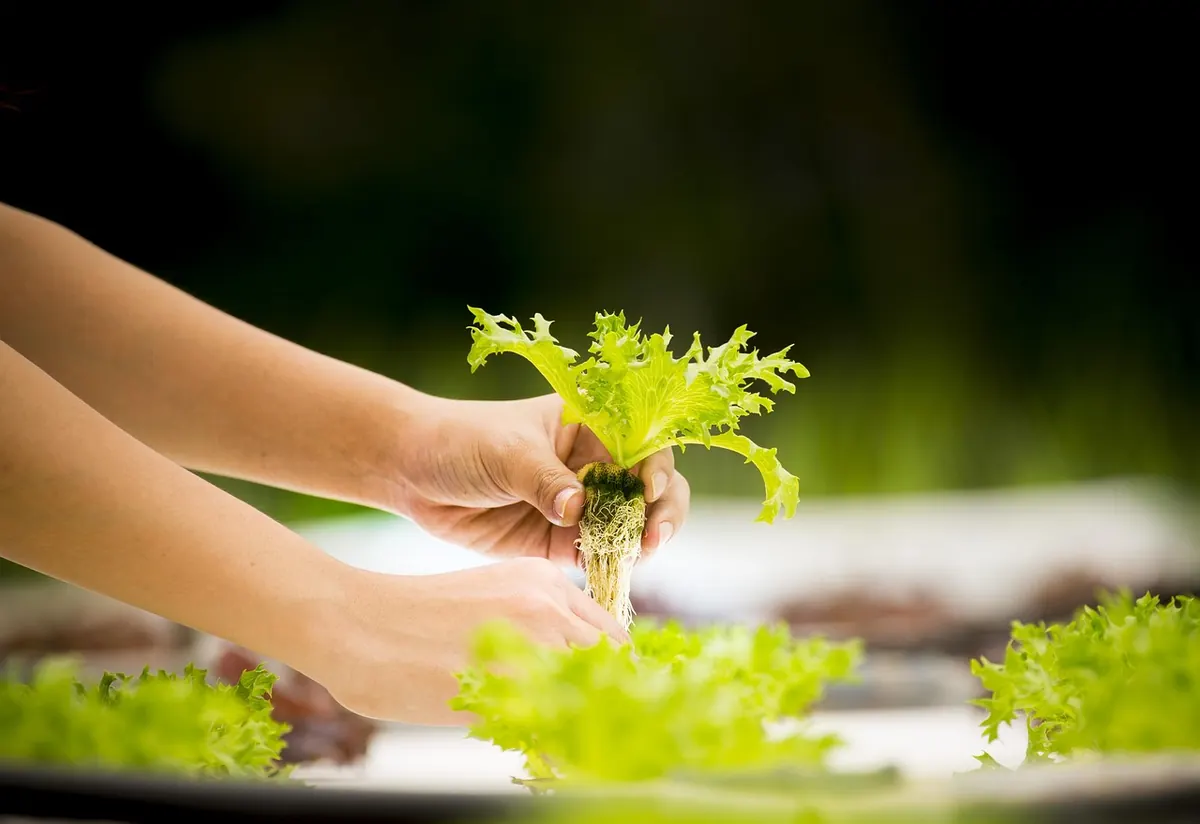
Tomato Planting Calendar for a Mediterranean Island: From Seed to First Harvest
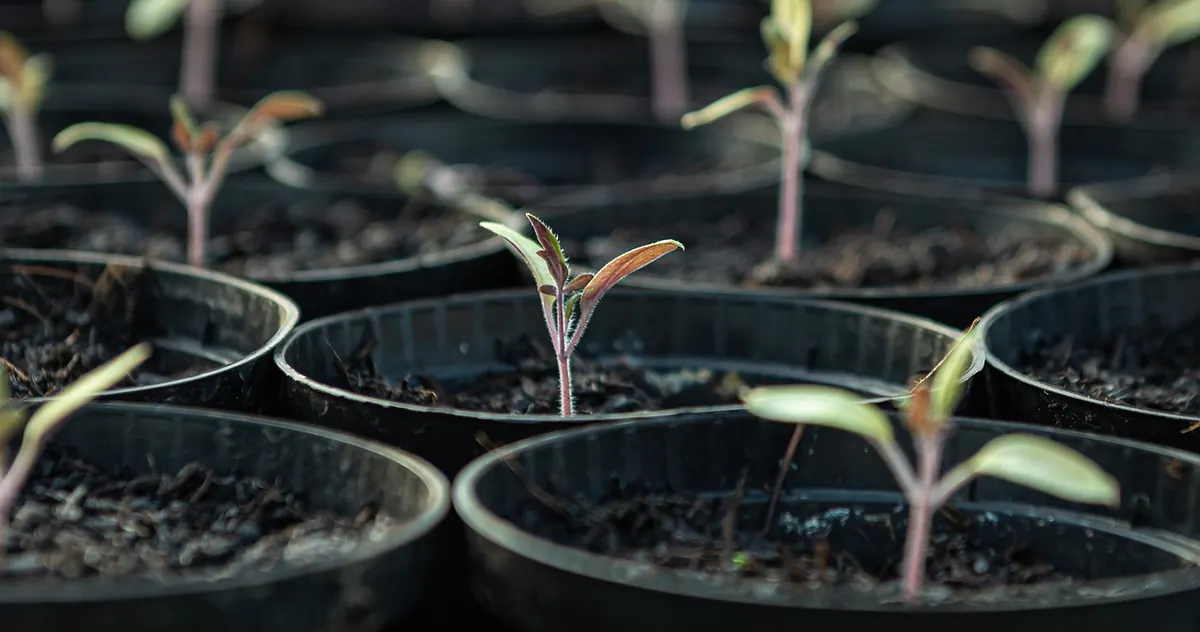
Tomato Planting Calendar for a Mediterranean Island: From Seed to First Harvest
Tomatoes on a Mediterranean island seldom follow a seed packet printed for a cooler climate. The sea softens winter, the light is fierce, and a dry July can arrive early. The reliable calendar is the one written by your plot: its slope, its windbreak, the hour the sun leaves the wall. Use the schedule below as a framework, then adjust it to the ground you actually garden.
The Island Clock: Why Local Dates Matter
Coastal gardens may escape frost entirely, while a plot a few hundred metres inland can still catch a cold snap in March. Instead of trusting a fixed date, watch soil temperature and night air. Tomato seed germinates readily once the soil is around 20°C, and transplants settle in best when the ground has warmed to about 15°C and nights stay above 10–12°C. A sheltered south-facing wall can buy you two or three weeks; an exposed north slope can lose them. A bed beside a stone wall that holds the day’s heat will often outpace a flat, wind-scoured patch by a fortnight, even when the two are only a short walk apart.
Keep a notebook. Note the first flower, the first ripe fruit, the first cold night, and the day the plants finally look tired. After one season you will know more about your own microclimate than any general calendar can tell you. Local growers are useful too, but listen closely: “plant after the last cold” means something different on a hillside above the sea than in a valley behind it.
The best tomato calendar is not printed. It is scribbled in the margin beside a date, a wind direction and a note about what the soil felt like that morning.
Late Winter: Sowing Under Cover (January–March)
Start with clean trays, a light seed compost and varieties that suit your use: quick cherries for early picking, plum tomatoes for sauce, beefsteaks for the table if you have room for strong stakes. Sow about half a centimetre deep, barely cover the seed, and keep the trays warm—roughly 20–25°C—until the seedlings appear. Then move them to the brightest place you have. Weak, drawn-up seedlings are almost always a light problem, not a feeding problem. Label each pot with variety and date. It sounds fussy; in June, when three green trays look identical, you will be glad.
In January, on a mild island, the earliest sowing belongs under glass, in a polytunnel or on a warm windowsill. Sow only what you can keep growing strongly; an early batch that stalls is no advantage. February is the main sowing month for most coastal gardens. Sow your main varieties now, a few seeds of each, and stagger a second small batch three weeks later to spread the harvest. By March, seedlings need pricking out into individual pots as soon as the first true leaves open. Harden them gradually—an hour outside on a mild day, then two, then a half-day—before any night outside. If a cold wind returns, bring them in without fuss.
Choosing Varieties That Fit the Island
An island garden rewards tomatoes that can cope with bright light, warm nights and the odd dry spell. Cherry types are the quickest to ripen and the most forgiving in small spaces; plums are meaty and less watery for sauce; beefsteaks need more support and steadier water but earn their space at the table. If you garden in pots or on a windy balcony, look for compact determinate varieties that stop growing at a tidy height. In open ground, indeterminate cordons give a longer harvest if you are willing to tie and pinch.
- Cherries: early, prolific and good for beginners; watch for splitting after rain.
- Plums: dense flesh, fewer seeds and excellent for sauce, paste and drying.
- Beefsteaks: large fruit that needs strong stakes, consistent water and room to breathe.
Also consider open-pollinated varieties if you want to save seed, and ask local growers which types survive their particular wind and salt. A variety that sulks on an exposed terrace may thrive behind a wall, so trial a few plants before giving a whole bed to one newcomer.
Spring: Transplanting and the First Trusses (April–June)
April is the month to prepare beds properly: fork in well-rotted compost, remove perennial weeds, and set stakes or a frame before the plants go in. If the weather is still cool, plant under fleece or in a polytunnel and keep a cloche handy. On most low coastal plots, the main transplanting window runs from late April into May, once the soil has warmed and the risk of cold nights has passed. Water the pots before planting, bury the stem up to the first true leaves, firm the soil and water again. Space indeterminate varieties about 50–70 cm apart; determinate bush types can be closer.
June is for filling gaps, tying in, and watching the first flowers. Do not let the plants dry out completely, but do not drown them either. A deep soak every few days is better than a daily sprinkle. Mulch with straw, dry grass or compost to keep moisture steady and keep fruit off the soil. Remove leaves below the first truss once they yellow, and pinch out side shoots on cordon varieties if you want larger fruit and better airflow. Bush tomatoes need no pinching; let them sprawl over a low frame instead.
High Summer: Harvest, Heat and Water (July–August)
July brings the first ripe cherries and often the first plum tomatoes. Pick at colour break if you want to ripen them on a windowsill, or leave them on the vine for full flavour. Check plants every day in hot weather; a truss can turn from green to red faster than you expect. Water consistently, early in the morning or in the evening, and keep the leaves dry where you can. Very high midday heat can make fruit set patchy, so do not panic if a truss flowers and drops. Keep picking: the more you harvest, the more the plant will produce. In August, shade cloth may help on a blazing west-facing wall, and a thick mulch earns its keep.
Watering, Mulching and Heat Stress
On an island, water is often the difference between a tidy crop and a split, stressed mess. Aim for deep, less frequent watering rather than a light daily splash. A simple rule is to water when the top few centimetres of soil feel dry, then soak until the moisture reaches below the root zone. Containers need more attention than beds, especially on windy days when leaves lose water quickly. Morning watering is usually best because foliage dries before evening, but if a plant is wilting at dusk, give it water then.
Mulch and Shade
Straw, dry grass, compost or even a layer of newspaper covered with soil will slow evaporation and keep the soil temperature steadier. Mulch also keeps fruit clean and reduces the splash that spreads soil-borne disease. In a heatwave, a shade cloth draped over a frame during the middle of the day can prevent sunscald and help fruit set, but do not shade so heavily that the plants become leggy. Remove the cloth when the worst heat passes.
When Heat Stops Fruit Set
Very hot, dry air can make pollen sticky and cause flowers to drop without setting fruit. Keep plants watered, avoid feeding too much nitrogen, and wait for cooler nights. A light misting of the air around the plants in the evening can help in a greenhouse or polytunnel, but never soak the leaves in full sun.
Autumn: Late Tomatoes, Seed Saving and Soil Repair (September–November)
September is still harvest month. Leave late trusses on the vine as long as the weather holds, but pick green fruit before the first cold, wet spell and ripen it indoors in a paper-lined box with a banana if you like. October is for clearing: pull spent plants, remove stakes, and compost only healthy material. If autumn turns humid, bin tomato foliage rather than composting it. Sow a green manure or spread compost over empty beds so winter rain does not wash the soil bare. If you grow an open-pollinated variety you love, save seed from a healthy, fully ripe fruit, ferment the seed pulp in water for a few days, rinse and dry it on paper. November is a quiet month: tidy, sharpen tools, and note what worked.
Containers, Courtyards and Small Spaces
If your only ground is a balcony or a paved courtyard, choose a pot of at least 30–40 litres for a full-sized tomato and use a compost mix that holds moisture. Put the pot where it gets sun but not the full force of a hot wall, and use a saucer or tray to catch runoff. Wind dries containers fast, so a low screen or a group of pots packed together can make a real difference. Feed container plants more often than garden plants, but follow the label: too much nitrogen gives leaves and little fruit.
Common Problems and Quick Fixes
- Yellow lower leaves: often natural ageing or uneven water; remove them and check drainage.
- Blossom end rot: usually a calcium uptake problem caused by irregular watering, not a lack of lime.
- Cracked fruit: often follows heavy rain after a dry spell; mulch and steady watering help.
- Whitefly or aphids: rinse with water, encourage predators, and avoid overcrowding.
- Late blight: remove affected foliage promptly, improve airflow, and avoid wetting leaves in the evening.
A Month-by-Month Quick Reference
- January: order seed, clean trays, sow earliest batch under cover.
- February: main sowing under glass; keep seedlings bright and cool.
- March: prick out, pot on, begin hardening; prepare beds.
- April: transplant under fleece or into warm soil; stake and tie in as plants grow.
- May: main planting month; water deeply, mulch, and watch for the first flowers.
- June: fill gaps, pinch cordons, tie in, and pick the earliest cherries.
- July: harvest daily, water consistently, and shade if heat is extreme.
- August: keep picking, feed containers, and watch for cracking and pests.
- September: gather late trusses, pick green fruit before cold, and save seed if you wish.
- October: clear spent plants, compost healthy waste, and sow green manure.
- November: tidy, sharpen tools, and note successes and failures.
- December: rest, plan, order seed, and protect bare soil from winter rain.
Photo: AndreasGoellner / Pixabay